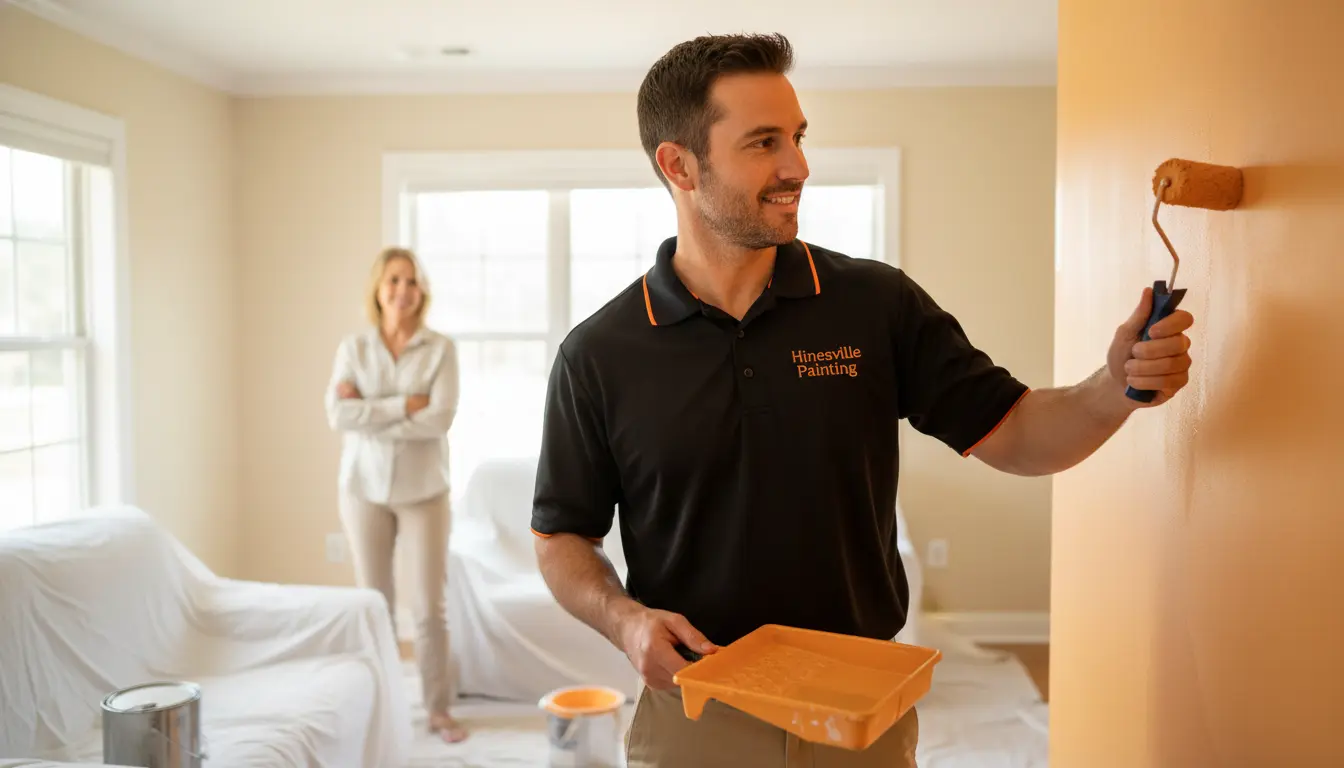
Transforming your home with a fresh coat of paint can breathe new life into any space, especially in the vibrant community of Hinesville, Georgia. Whether you’re refreshing your living room or updating the exterior to withstand the humid coastal climate, proper preparation is the key to a professional, long-lasting finish. At Hinesville Painting, we’ve helped countless homeowners in areas like Fort Stewart and Bradwell Estates achieve stunning results. But before the brushes come out, there’s essential groundwork to cover. In this guide, we’ll share our expert tips tailored to Hinesville’s unique environment, ensuring your project runs smoothly and looks amazing for years to come.
Why Proper Preparation Matters for Your Hinesville Home
In Hinesville, where the subtropical weather brings high humidity and occasional storms, skipping prep work can lead to peeling paint, mold growth, or uneven coverage. Proper preparation not only enhances adhesion but also saves you time and money in the long run. According to industry standards, well-prepped surfaces can extend paint life by up to 50%. For local homeowners, this means protecting your investment against the region’s moisture and salt air from nearby coastal influences.
Think of preparation as the foundation of your paint job—much like how military families in Fort Stewart rely on solid bases for their homes. Rushing this step often results in callbacks and repaints, which we see all too often in our service to Walthourville neighborhoods.
Common Mistakes to Avoid
One frequent error is neglecting to clean surfaces thoroughly. Dust, grease, and pollen from Hinesville’s pine-heavy landscapes can sabotage your efforts. Another pitfall is ignoring structural repairs—cracks or holes left untreated will crack through fresh paint. Finally, choosing the wrong tools or materials for our local climate can lead to bubbling or fading. By addressing these upfront, you’ll set the stage for success.
Step-by-Step Guide to Interior Preparation
Starting with the inside of your home? Interiors in Hinesville homes often face challenges from air conditioning fluctuations and everyday wear. Follow these steps for a smooth, professional outcome.
1. Declutter and Protect Your Space
Begin by removing furniture, artwork, and decor from the room. In smaller Hinesville bungalows, this might mean shifting items to the garage—consider our epoxy garage flooring services if your storage space needs a durable upgrade. Cover floors with drop cloths or plastic sheeting, and use painter’s tape to mask off trim, outlets, and windows. This prevents drips and splatters, keeping your cleanup minimal.
Pro Tip: For textured ceilings common in older Fraser Acres homes, opt for our popcorn ceiling removal to create a blank canvas before painting.
2. Clean Surfaces Thoroughly
Dust and grime are enemies of good paint adhesion. Use a mild detergent solution to wash walls, paying extra attention to kitchens and bathrooms where grease builds up. In Hinesville’s humid air, mildew can form quickly—treat any spots with a bleach-water mix (1:3 ratio) and let it dry completely. Vacuum baseboards and corners to remove cobwebs, ensuring every inch is pristine.
For high-traffic areas, like entryways in Gumbranch family homes, a deeper clean with TSP (trisodium phosphate) can make a big difference.
3. Repair Walls and Trim
Inspect for dents, cracks, or holes from daily life or even minor storm damage common in our area. Fill small imperfections with spackle using a putty knife, then sand smooth once dry. For larger issues, such as water damage from heavy rains, our drywall patch and repair team can handle it professionally.
Sand all surfaces lightly with 220-grit sandpaper to create a slightly rough texture for better paint grip. Wipe away dust with a tack cloth to avoid contaminating your fresh layers.
4. Prime for Perfection
Priming seals porous surfaces and ensures even color absorption. Choose a high-quality primer suited to your wall type—oil-based for tricky stains, latex for most interiors. In Hinesville’s variable indoor humidity, a stain-blocking primer prevents bleed-through from tannins in local woods.
Apply with a roller for walls and a brush for edges, allowing full drying time (usually 24 hours). This step is crucial if you’re switching to bold colors; book a color selection consultation with us to match your vision.
Exterior Preparation Tips Tailored to Hinesville’s Climate
Hinesville’s outdoor painting projects must contend with intense sun, humidity, and pollen seasons. Exteriors here demand robust prep to combat fading and moisture intrusion.
1. Assess and Clean the Exterior
Walk around your home, noting peeling paint, rot, or siding issues. Power wash the entire surface to remove dirt, algae, and mildew—Hinesville’s proximity to wetlands makes this essential. Use a low-pressure setting (under 2,000 PSI) to avoid damaging wood or stucco common in local architecture.
For brick or vinyl in Bradwell Estates, a gentler hose-down suffices, followed by a mildew inhibitor spray.
2. Scrape and Sand Old Paint
Remove loose or flaking paint with a scraper or wire brush. In older Hinesville homes built pre-1978, test for lead paint and consult professionals if needed. Sand glossy areas to dull the finish, then caulk gaps around windows and doors to seal against our rainy springs.
3. Address Wood and Metal Surfaces
For wooden elements like trim or fences, apply wood hardener to soft spots and replace rotten boards. Metal surfaces, such as gutters, need rust removal via wire brushing and a rust-inhibiting primer. Hinesville’s salty air accelerates corrosion, so these steps prevent future headaches.
4. Prime and Protect
Exterior primers should be weather-resistant, with mildew-resistant additives for our climate. Focus on south-facing walls that get the most UV exposure. If your home has commercial elements, like a mixed-use property, explore our commercial building painting for durable solutions.
Tools and Materials You’ll Need
Gather these essentials before starting:
- Drop cloths and plastic sheeting
- Painter’s tape and plastic bags for outlets
- Cleaning supplies: detergent, TSP, bleach
- Scrapers, sandpaper (various grits), putty knives
- Spackle, caulk, and primers
- Extension poles and quality brushes/rollers
Invest in drop cloths over cheap plastic to avoid tears, especially in windy Hinesville conditions. For eco-conscious locals, opt for low-VOC products to keep indoor air quality high.
FAQ: Preparing Your Home for Painting
How long does home preparation take?
It varies by home size and condition, but expect 1-3 days for interiors and 2-5 days for exteriors. In Hinesville, humidity can extend drying times, so plan accordingly.
Do I need to hire professionals for repairs?
For minor fixes, DIY is fine, but complex issues like extensive drywall damage benefit from experts. At Hinesville Painting, we offer seamless drywall patch and repair to prep your space perfectly.
What’s the best time to paint in Hinesville?
Spring or fall avoids peak humidity and heat. Avoid rainy seasons to prevent moisture traps under paint.
Can I paint over wallpaper?
Not recommended—remove it first to avoid bubbling. If textured, consider popcorn removal services for a smooth base.
How do I choose the right paint for local weather?
Opt for exterior paints with UV protection and mildew resistance. Our color selection consultation helps match durability to Hinesville’s demands.
Conclusion: Ready to Paint Your Hinesville Home?
Preparing your home for painting is an investment that pays off in beauty and longevity, especially in our dynamic Hinesville climate. From thorough cleaning to strategic priming, these expert tips from Hinesville Painting ensure a flawless finish that enhances your property’s curb appeal. Whether you’re in Fort Stewart or Walthourville, we’re here to make your vision a reality.
Don’t tackle it alone—contact Hinesville Painting today for a free consultation and let our local pros handle the prep and painting. Transform your space with confidence; schedule now and see the difference professional care makes!